
 Canadian Dollars
 US Dollar
 Mexican Peso
 Euro
Euro
 British Pound
 Australian Dollar
Truth EntryGard Replacement How-To | DIY Window Repair

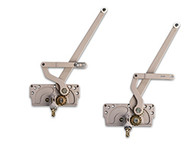
Window crank operators break down over time. The drive worm and gears strip, components degrade with exposure to the elements. It's normal! Repairing your Truth EntryGard window operator is a simple, cheap fix that you can perform alone to get your windows back up and operational. This How To will walk you through the tools you need, the steps to follow, and provide some useful tips along the way to help you remove your broken Truth EntryGard dual arm casement window operator from your wood sash window and replace with a new one from Ontario Glazing Supplies. The same steps apply to Vinyl windows with a few improvisations.
Necessary Items
You will need the following supplies and tools to perform this how-to.
Supplies
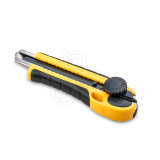
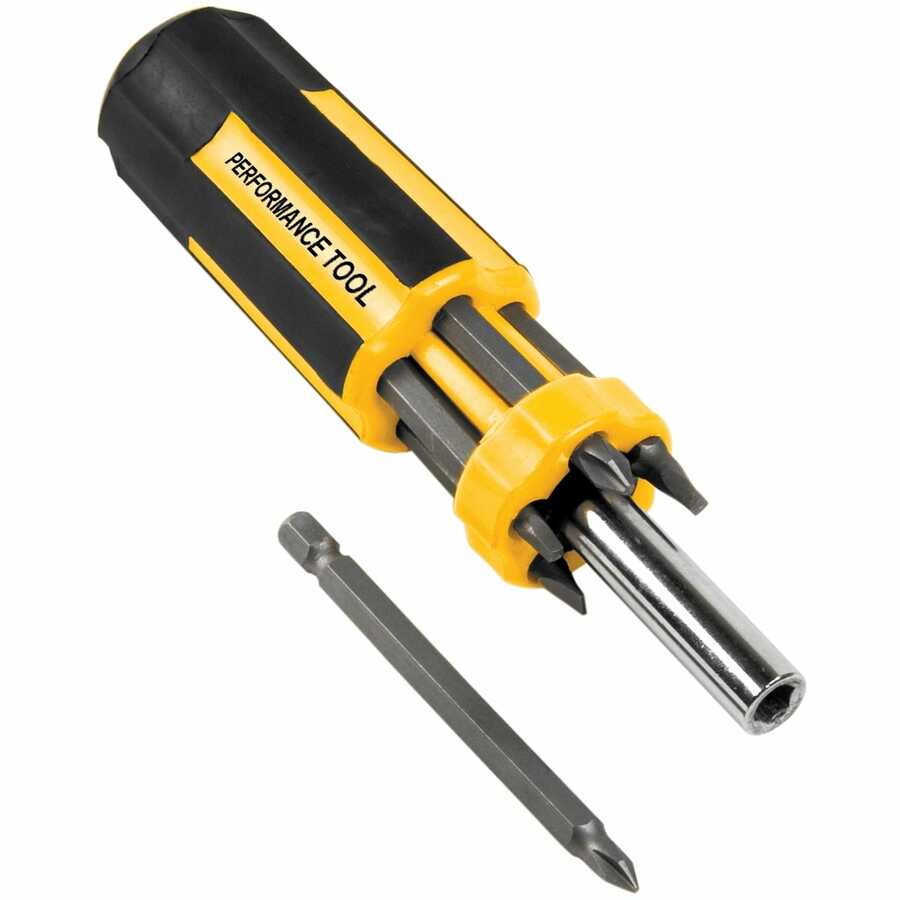
Tools

DIY Repair Steps
The following steps will guide you through the process of removing your broken Truth EntryGard dual arm window crank operator and installing a new one on a wood casement window. If you have any questions, please feel free to contact us.
Preparation
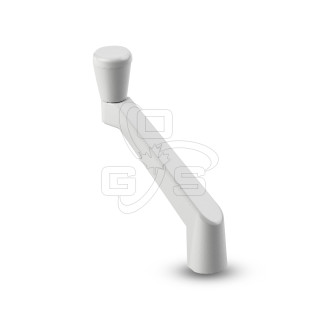
Remove window operator handle

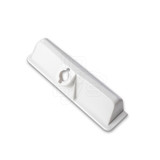
Remove window operator cover cap
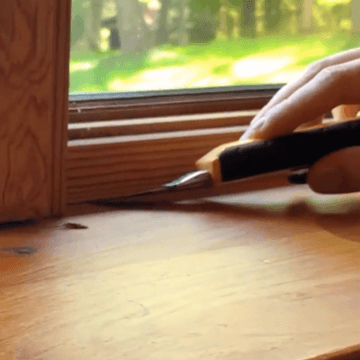
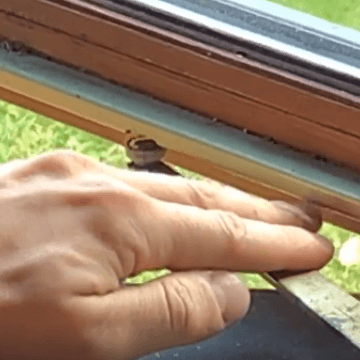
Score the paint line

Remove bottom sash stop
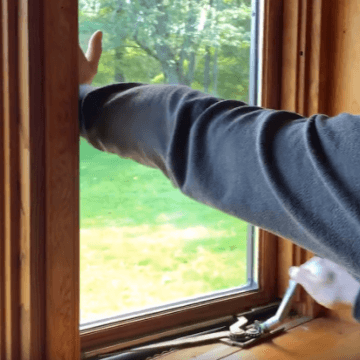
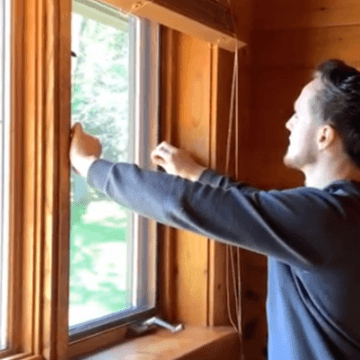
Open the window
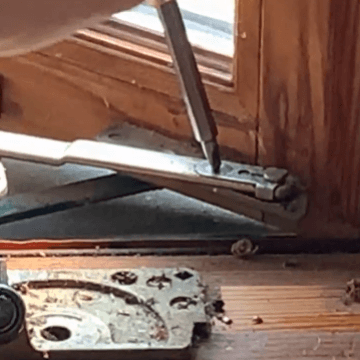
Release retainer clip from stud bracket post
Detach link-arm from stud bracket
Detach roller arm from guide channel track
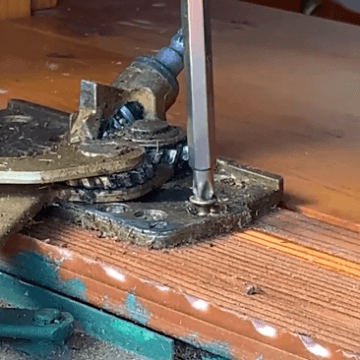
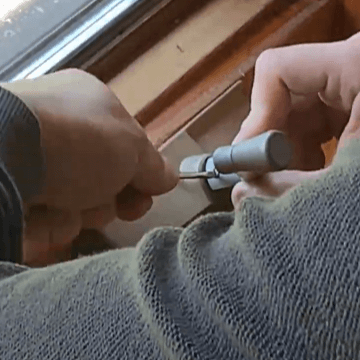
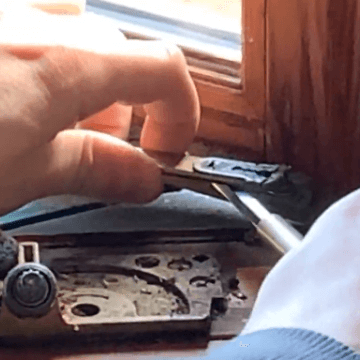
Remove surface mounted screws
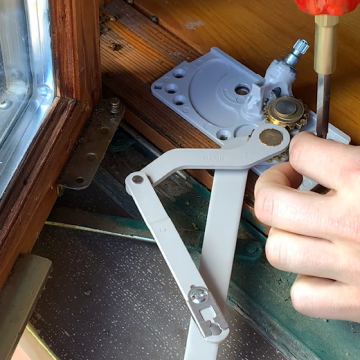
Install new Truth EntryGard
Video: How To Replace an AmesburyTruth EntryGard Casement Operator On A Wood Window - Complete Tutorial
Learn how to replace a Truth Hardware (AmesburyTruth) EntryGard Casement Window Operator on a wood window from start to finish. This video will walk you through the required tools you need and provide helpful tips and tricks to remove and replace your EntryGard window crank operator.